
How to Setup your Pinterest Account for Business
Pinterest is a great way to drive traffic to your site, especially if your intended audience consists of women. It's no secret that many successful entrepreneurs get a lot of their website traffic, and ultimately clients, from Pinterest.
Pinterest is considered a search engine, even though most of us lump it into the social media category. I personally go to Pinterest anytime I’m looking for help on a business topic or searching for design inspiration.
If you have a blog, Pinterest will be your very best friend. And you will want to setup a business account so you can view analytics, create ads, and expand your audience.

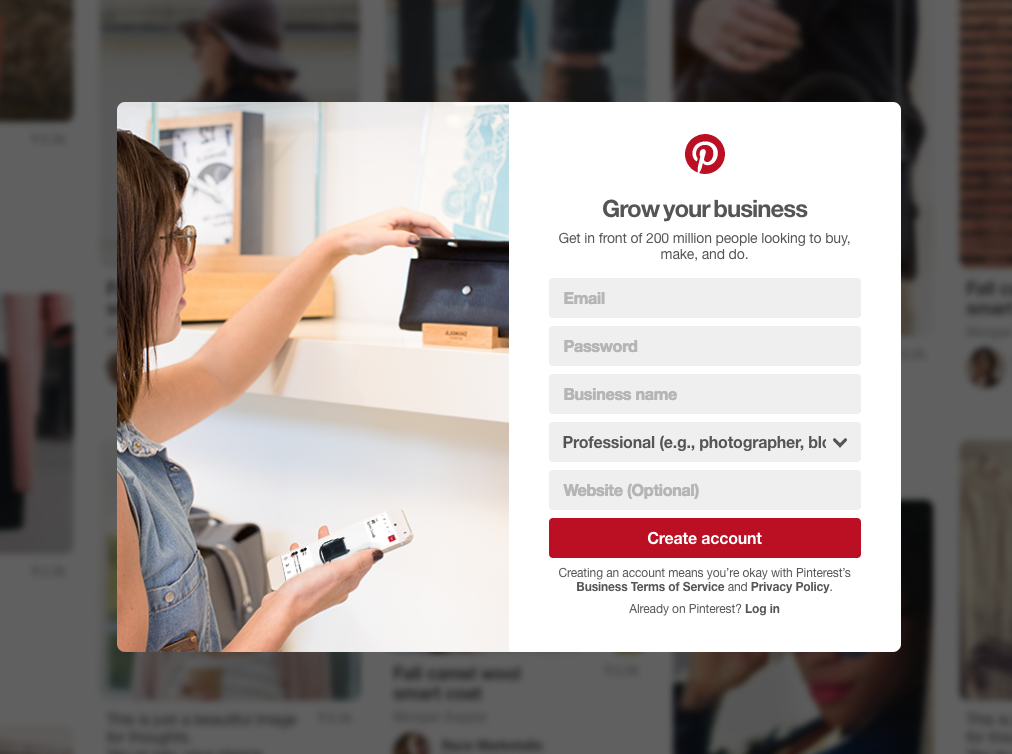
Step 1 | Create a business account
If you already have a personal Pinterest account, you can simply convert it to a business account. Here’s how:
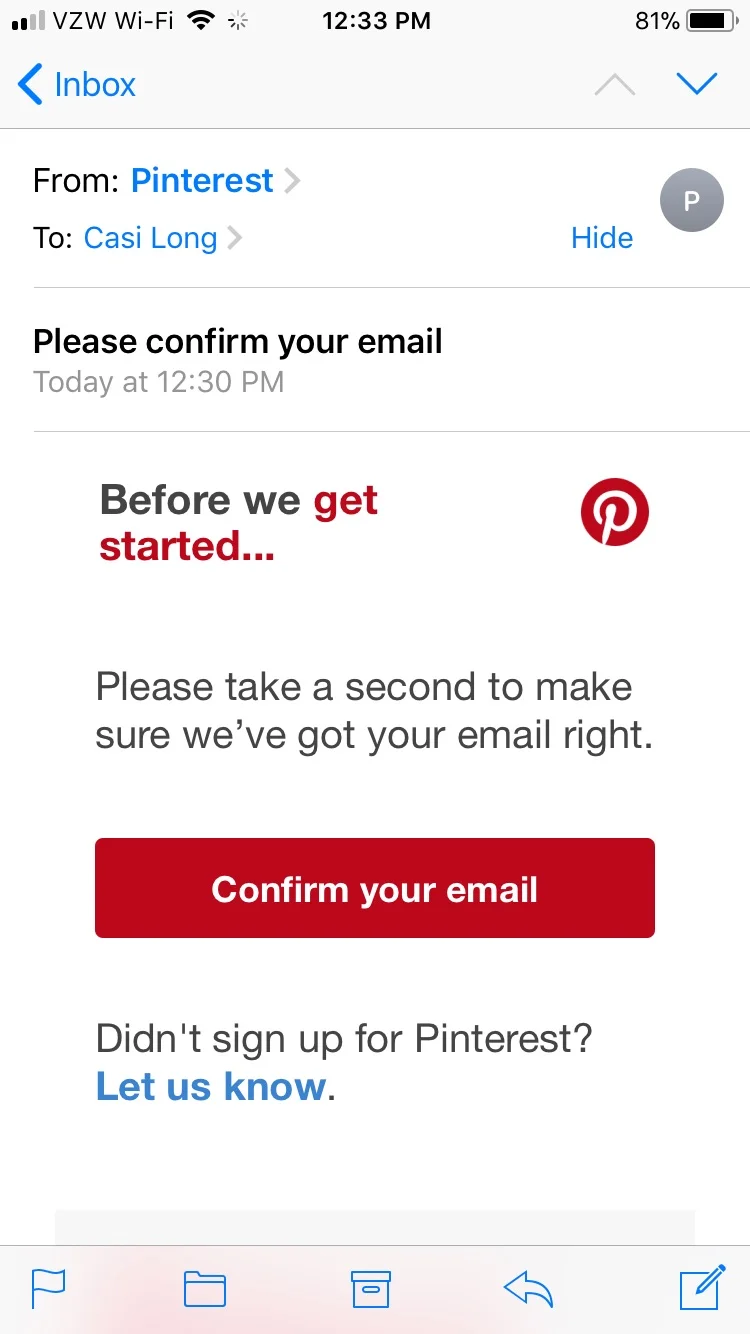
If you’re creating a new Pinterest account, just sign up here. Once you’ve signed up you should receive a confirmation email. Click confirm and you’re good to go!
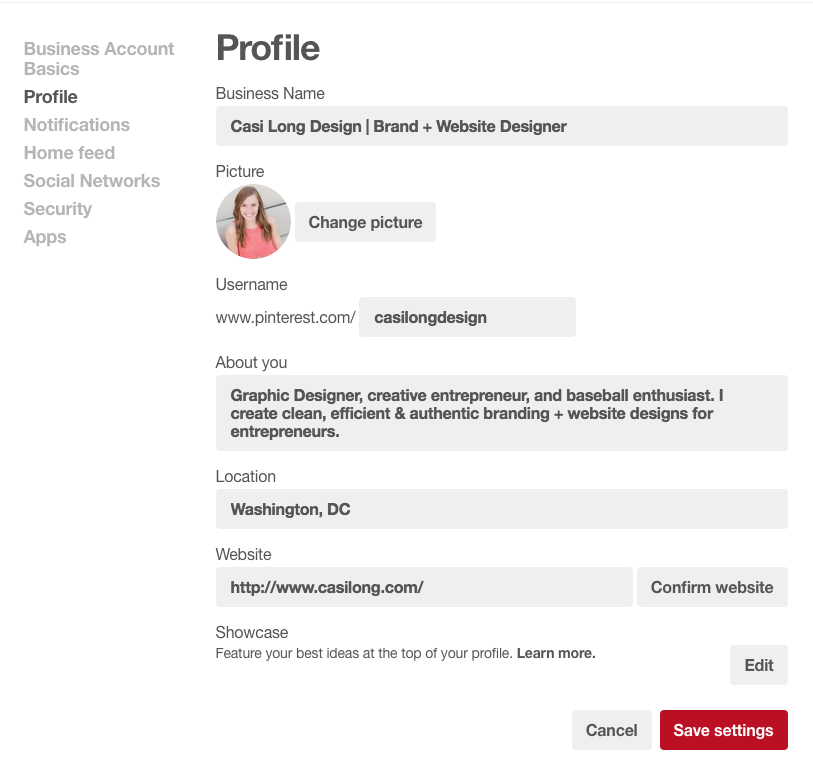
Step 2 | Setup your Profile
Once you’ve created an account, you’ll need to setup your profile. Having a fully-completed profile will allow more users to find you and it helps them to have a full understanding of the services or products you offer.
Step 3 | Confirm your Website
When you setup your profile, you entered your website URL. Next to the web address is a button that says, “Confirm Website.” Click there and this should pop up:
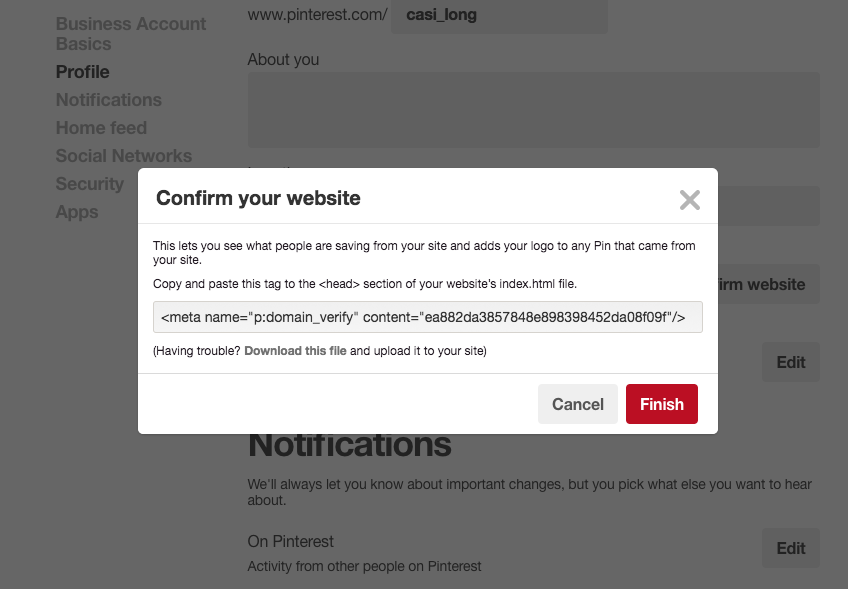
Copy the code.
Then go to your Squarespace site and follow these steps: Settings > Advanced > Code Injection


Your box probably doesn’t have any existing code, so just click inside the box and paste the text.
If you do have code in your box, simply paste the code at the very top before any existing code (highlighted section shown in mine above).
Step 4 | Organize your Boards
Now that your profile is all setup, you’re ready to start utilizing Pinterest. The first step is to create and organize your boards.
When setting up your boards, keep your ideal audience in mind. You want your boards to be useful and applicable to the audience you’re trying to attract. For instance, I’m a brand & website designer so my ideal audience probably won’t be referencing my account for recipes. They’ll likely be searching for branding + design tips or website inspiration.
Now, just because your audience is uninterested in your recipes doesn’t mean you can't have a board for recipes.
I use secret boards for pins not applicable to my audience.
I still have all the personal boards I want—recipes, beauty, fitness—I just set them as secret so they're invisible to my audience.
This is a great way to keep your account looking on brand and cohesive, while still utilizing it on a personal level.
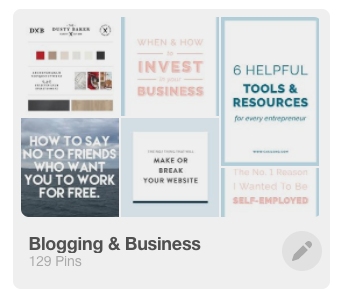
Step 5 | Add a Description + Cover Image to Each Board
Be sure to include a description for each board. Use keywords that your audience will use when searching. This will help your boards to be found across Pinterest.
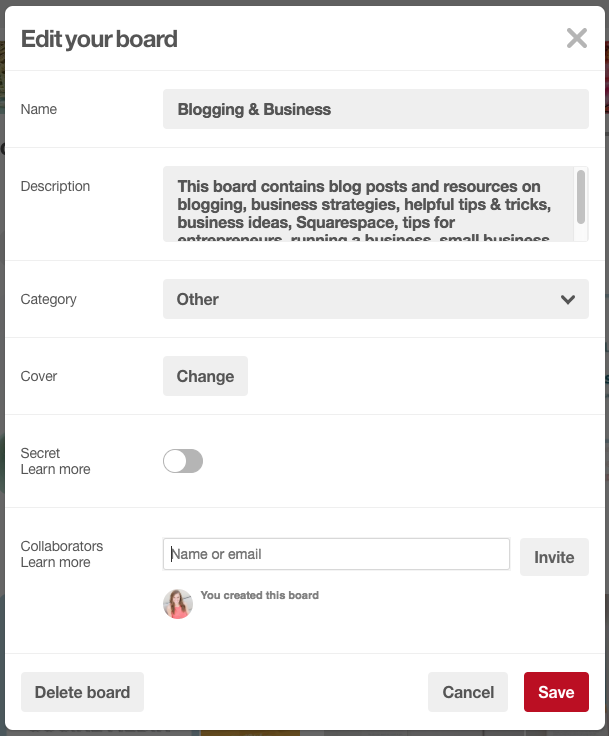
Pinterest allows you to select a cover image for each board. Here’s how:
Go to My Profile and select Boards
When you hover over a specific board, you’ll see a pencil icon that allows you to edit (below left). You can then click change (below right) and adjust the cover image by scrolling through the images on your board.
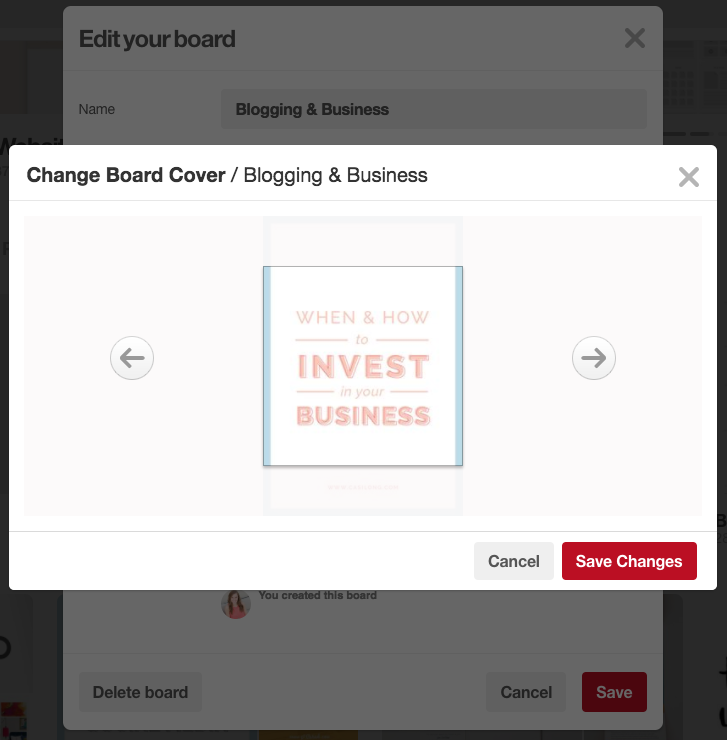
You should use images that match your brand aesthetic. Some bloggers even use blog post graphics that represent a specific board’s content well.


Step 5 | Start Pinning
Once you’ve organized your boards in a way that makes sense for your business, start pinning!
A few things to consider when pinning items:
Is this pin valuable to my audience?
Does the image I’m sharing align with my brand and visual standards?
Does this pin link to a valuable article or is it just a dead-end image?
Pin images from your website! This is key for driving traffic back to your website.
Most bloggers advise creating 2 pinnable graphics per blog post. Give your readers more than one way to share your content.
Tip: The ideal image size for Pinterest graphics is 736 x 1104 pixels.
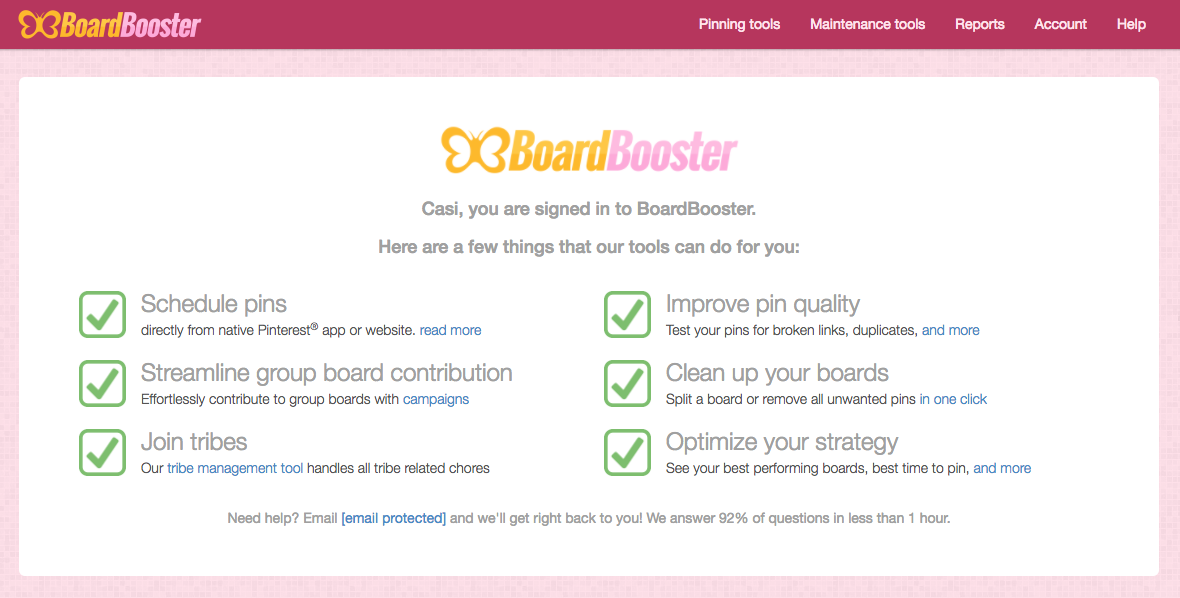
Step 6 | Consider an Auto-Scheduler
I use Board Booster for rescheduling posts. The idea behind programs like Board Booster (and other scheduling apps) is that it pulls pins you’ve already pinned and re-pins them. Then a few days later, it goes through and deletes the old duplicate pins. This way your content is still visible to your audience, but you don't have to be constantly active on Pinterest.
It also ensures your old content is still being seen and isn’t completely buried by newer content.
A Few Tips
- Be sure to name the images on your website/blog because Pinterest uses your image titles as their caption.
- The optimal image size for Pinterest is 736 x 1104 pixels
- Connect your website and Pinterest account so your readers can easily find you.
- Dedicate a little time each week to find/pin relevant pins for your audience.
---
I hope you found this helpful! I’m happy to answer any questions—comment below!