
How to Get Started with Squarespace
Creating a website can seem like a daunting task. If you're anything like me, you may get overwhelmed by just the thought of such an endeavor. But you probably also know that having a website is crucial for your online business.
I am a Squarespace user and suggest it to anyone looking to start a site. The template designs are clean and efficient, the interface is easy to use, and they have an amazing support/tutorial forum. So if you have been wanting to create a Squarespace website (or a website period), but have no idea where to start, fear not. In this post I'll walk you through the 6 steps to help you get started with Squarespace.
Step 1 | Gather information and materials
Before you start designing your website, there are a few things you’ll need.
1 | A list of which pages you want to include on your website
2 | Photos
High-quality photography can absolutely make or break a good website. Consider which images you plan to include on your homepage and throughout your site.
If you need to have photos taken, schedule a photoshoot with a local photographer.
I recommend having a professional headshot for your about page, and quality images of your work/portfolio (design work, physical products, photos from events if you’re an event planner, photos from photoshoots if you’re a photographer, etc).
3 | Text for each page
Before you start designing a site, it’s a good idea to map out what text you plan to include on each page (about, home page, contact). This will help you decide on your design layout and what each page will look like.
Step 2 | Sign Up + Select a Template
To get started on your site visit www.squarespace.com and click Get Started

You will then see this page where you start by selecting a template.
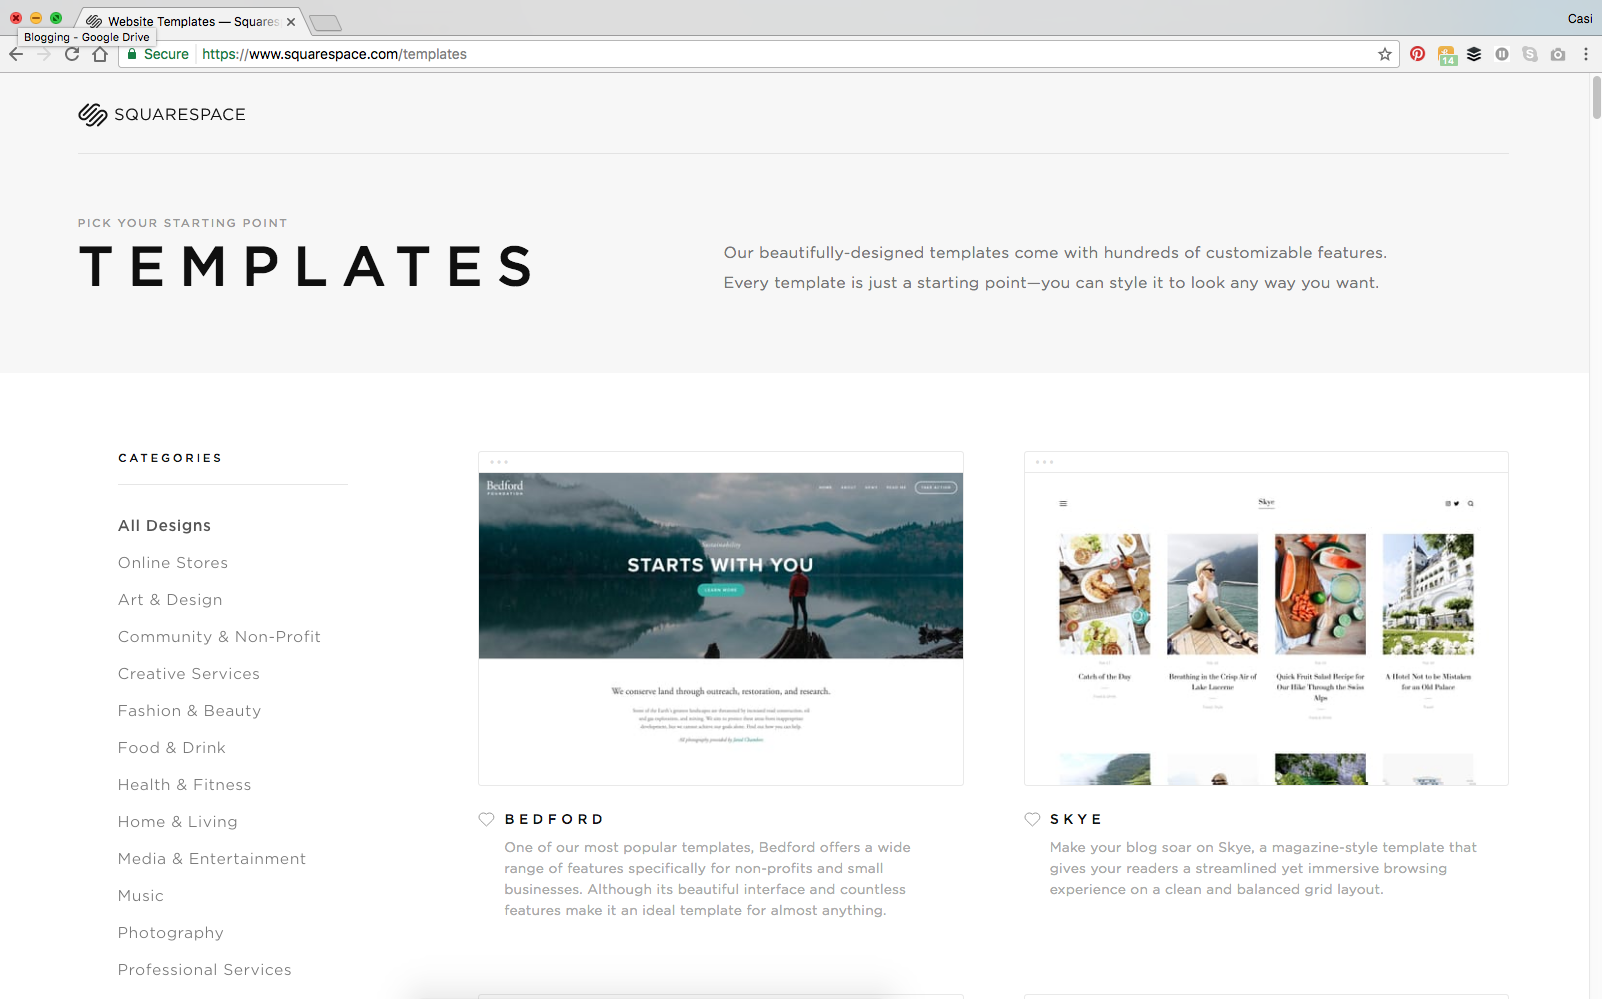
You’re probably wondering how to choose a template.
If you have a certain look or design in mind for your site, browse through and try to find templates that appear similar to the vision in your head. I typically try to pick one specific feature for a site and build around that.
Tips for choosing your template:
1 | Decide if you want a one-page scrolling template, a multi-page template, or a simple cover page.
2 | Look through the examples of customer sites for each template (not all have this option, but most do)

3 | Consider must-have features and research which templates have those features. Look through the Templates and Design info on Squarespace here.
You can click through the various articles on the left-hand side of this page and read about specific features for each template. If you plan to blog, make sure to look through the blogging features for each template as well.

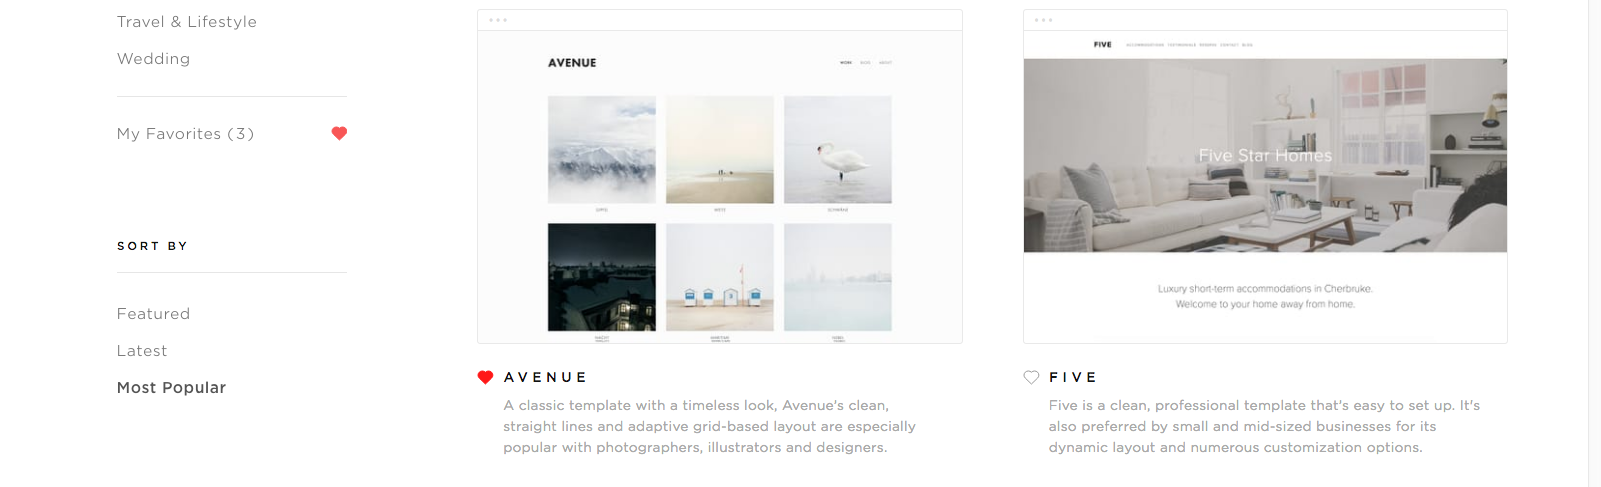
Back on the template selection page, on the left-hand side you can…
Browse specific categories like Fashion & Beauty or Photography

Sort by Featured, latest, or most popular
And favorite the ones you like by clicking the heart beneath that specific template.
Once you have decided on a template, select Start With [template]
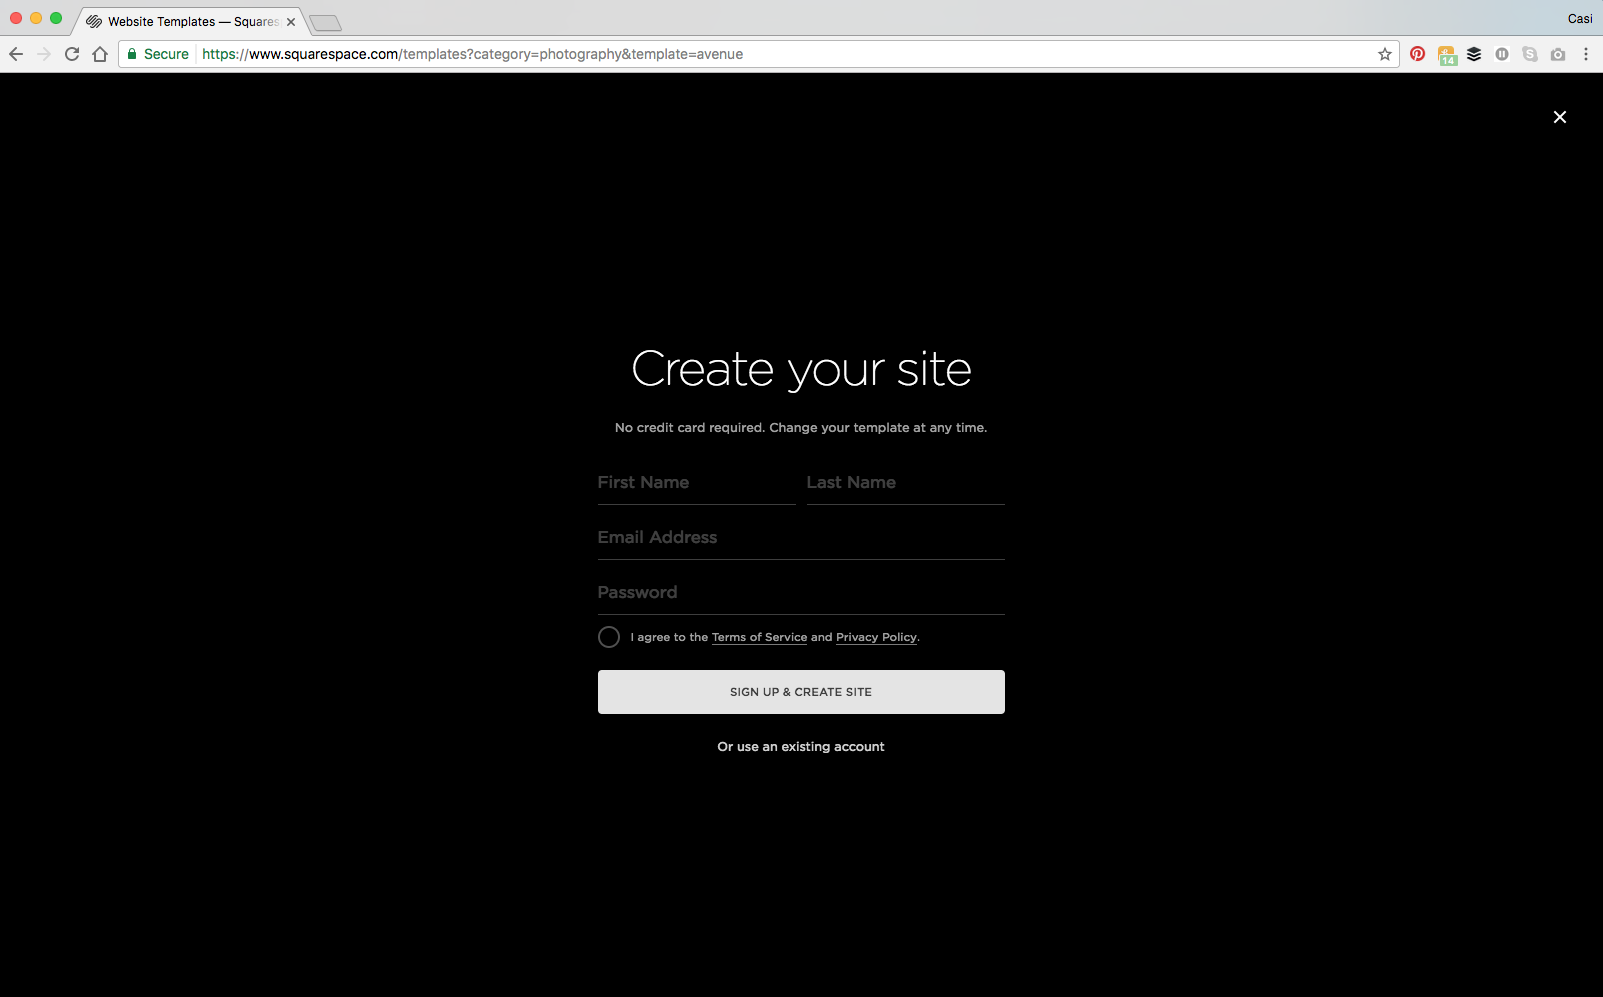
Step 3 | Create Your Site
Squarespace will walk you through the steps of creating your site. You automatically start with a 14-day trial, so you don’t have to put in your billing information just yet.
This is nice because you can work on designing your site for 2 weeks before you start paying for it.

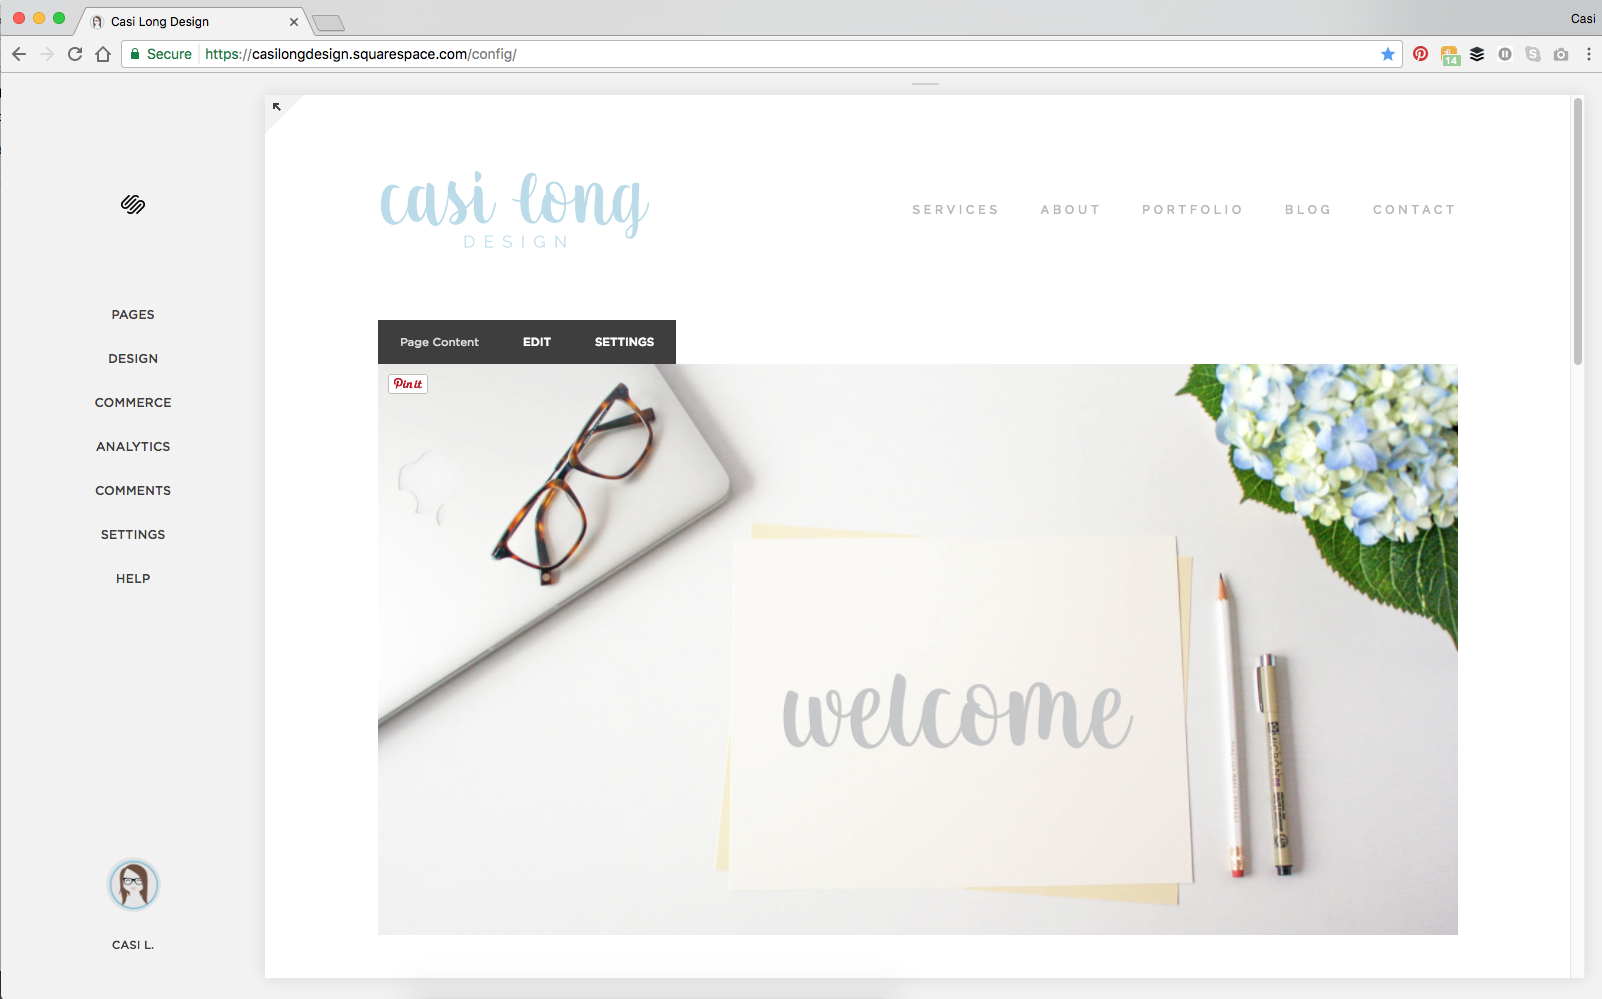
Once you've completed the setup, you'll see a page similar to this:

Step 4 | Customize your template
Now that you have a website setup, customizing the template is what makes it yours. Here are the main ways to customize your site.
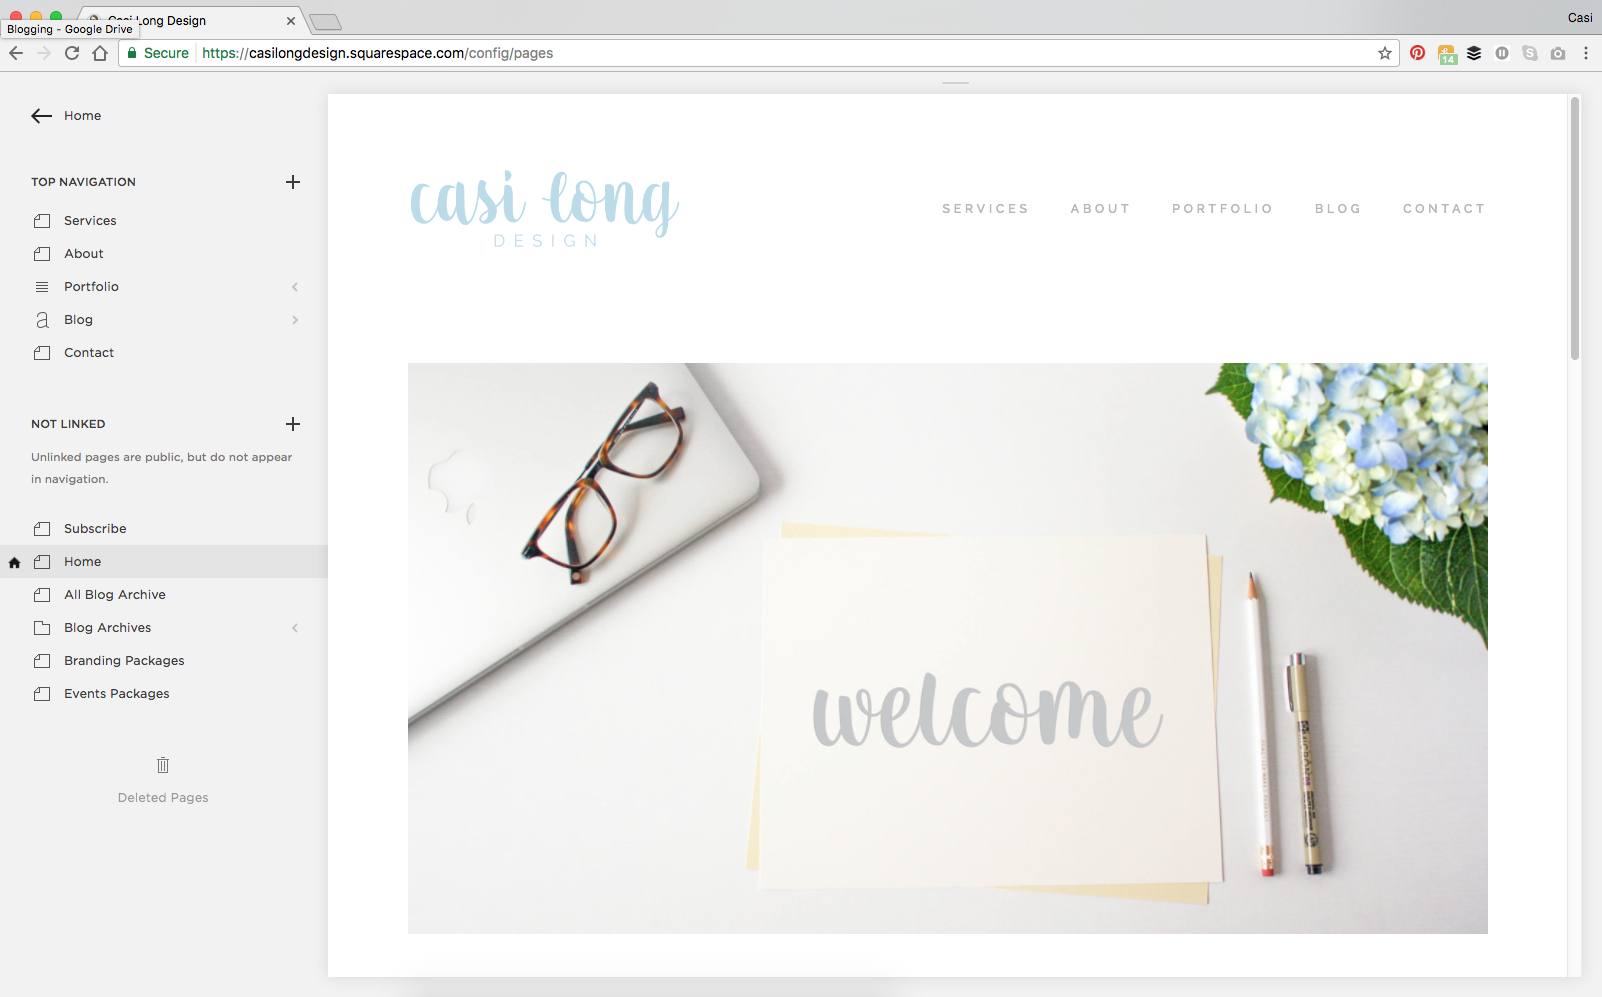
Add pages to your site
You can build off the demo pages Squarespace built for you, or create completely new pages inside the pages panel of your site.
Locate the pages tab on the left side of your page.

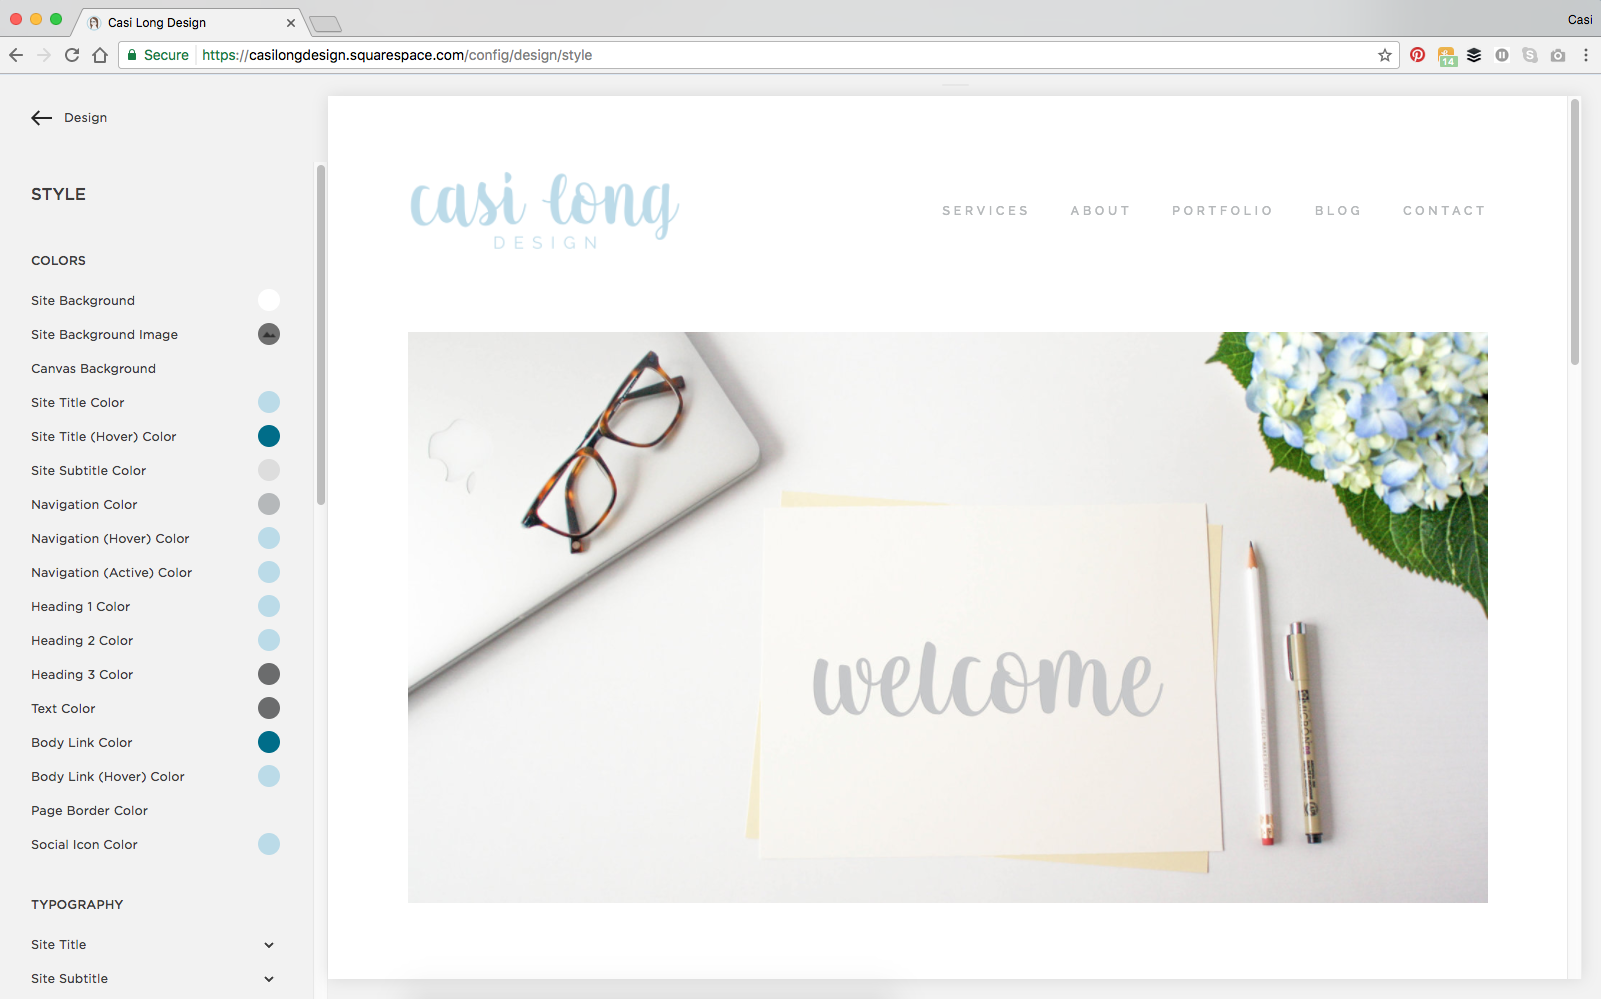
Add your brand colors
Click the design tab directly underneath the pages tab, then select style editor

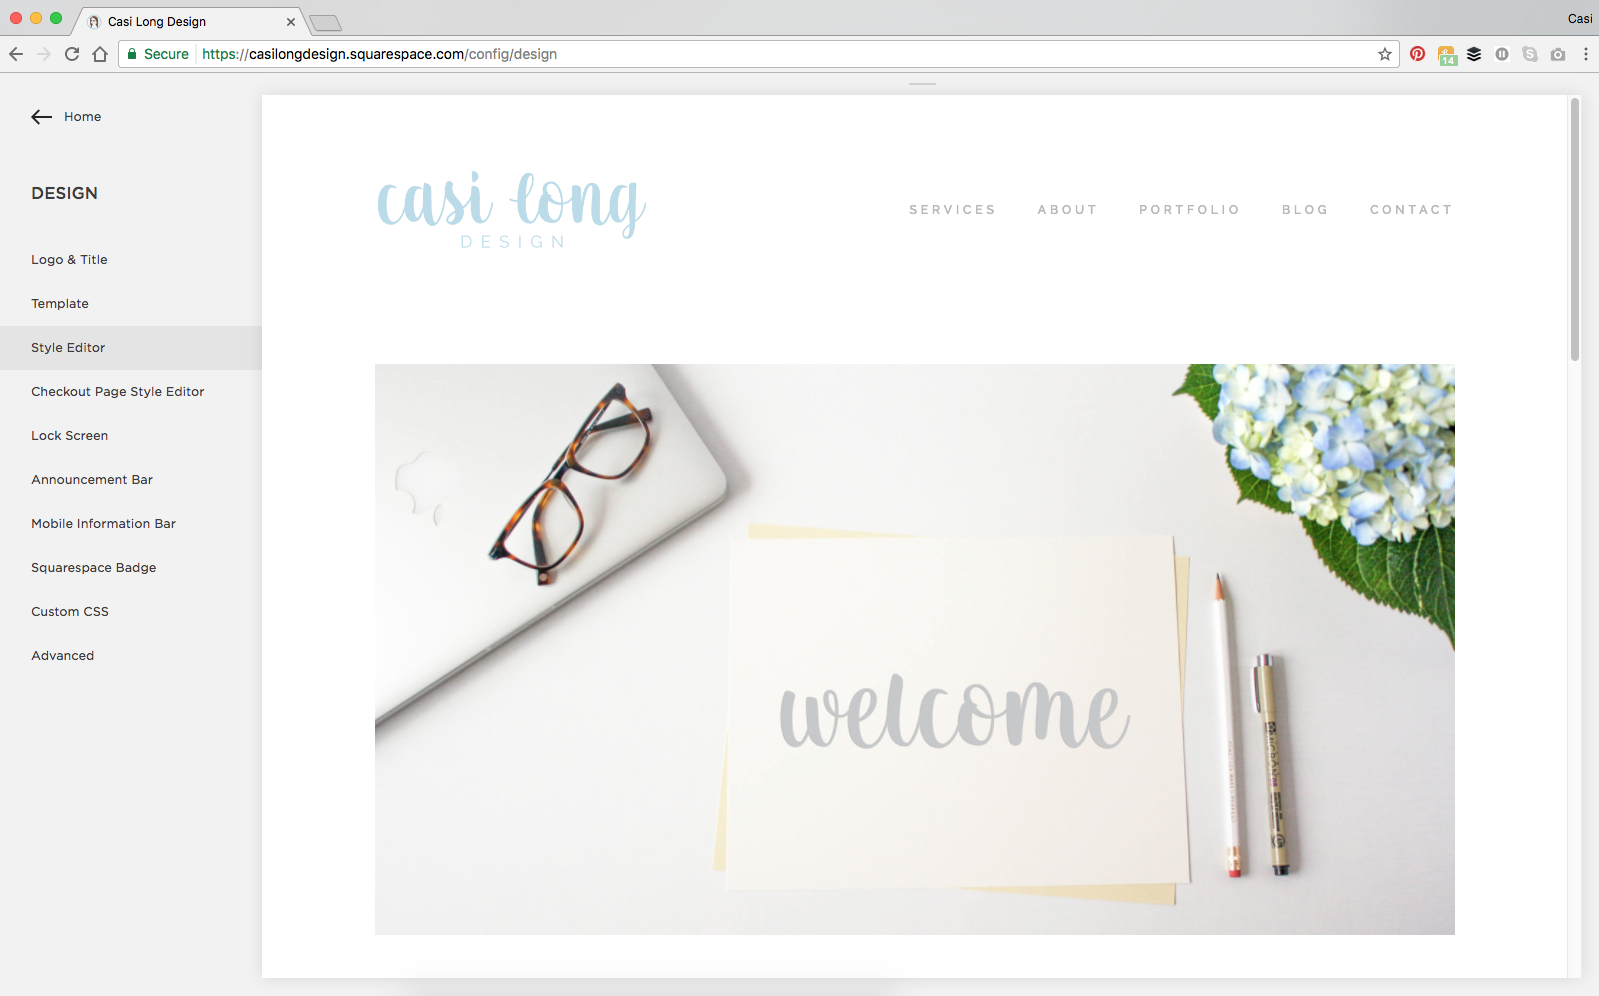
Inside the style editor is where you can customize all your fonts, colors, and design specific details. I would start with your brand’s custom colors. Pick two or three to use across your entire site.
Add your images
In your main screen, when you hover over your website design you will see an edit option.
Click edit and then you’re able to edit and move things around on each page.
If you hover over an image you can click edit and then swap out images.


To add a brand new image, hover over a place you want to insert it until you see a little bubble appear. If you hover over that bubble, you will see a line for where the image will be inserted.
Click the bubble and a dialog box will appear, allowing you to select an image or whatever other feature you’d like to insert.
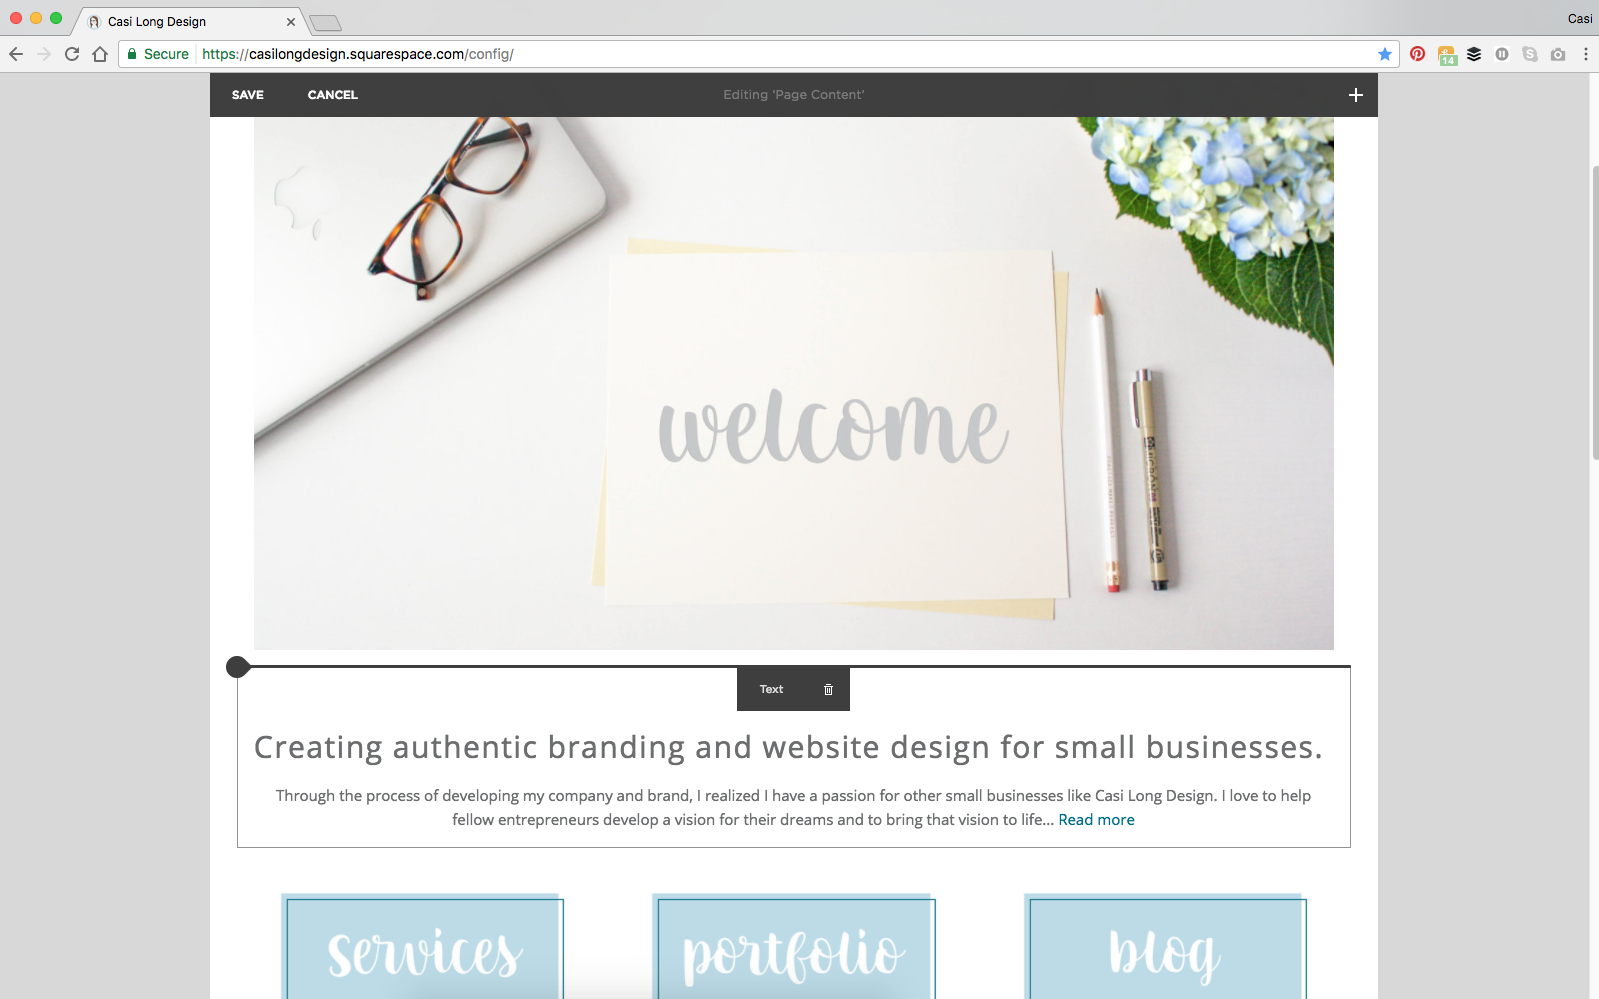


Add your content
You add text the same way you would add an image: by hovering over the text box and clicking. You’ll see live text changes as you make them.
Also, adjust the formatting of the text in the black dialog box above the text box.

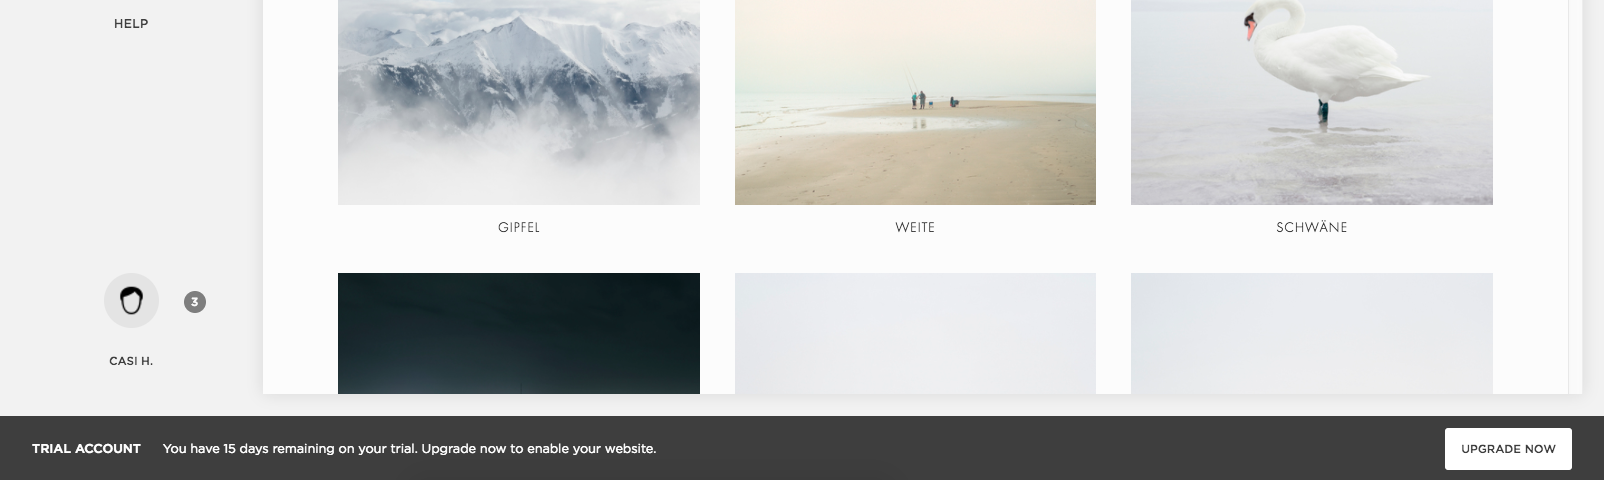
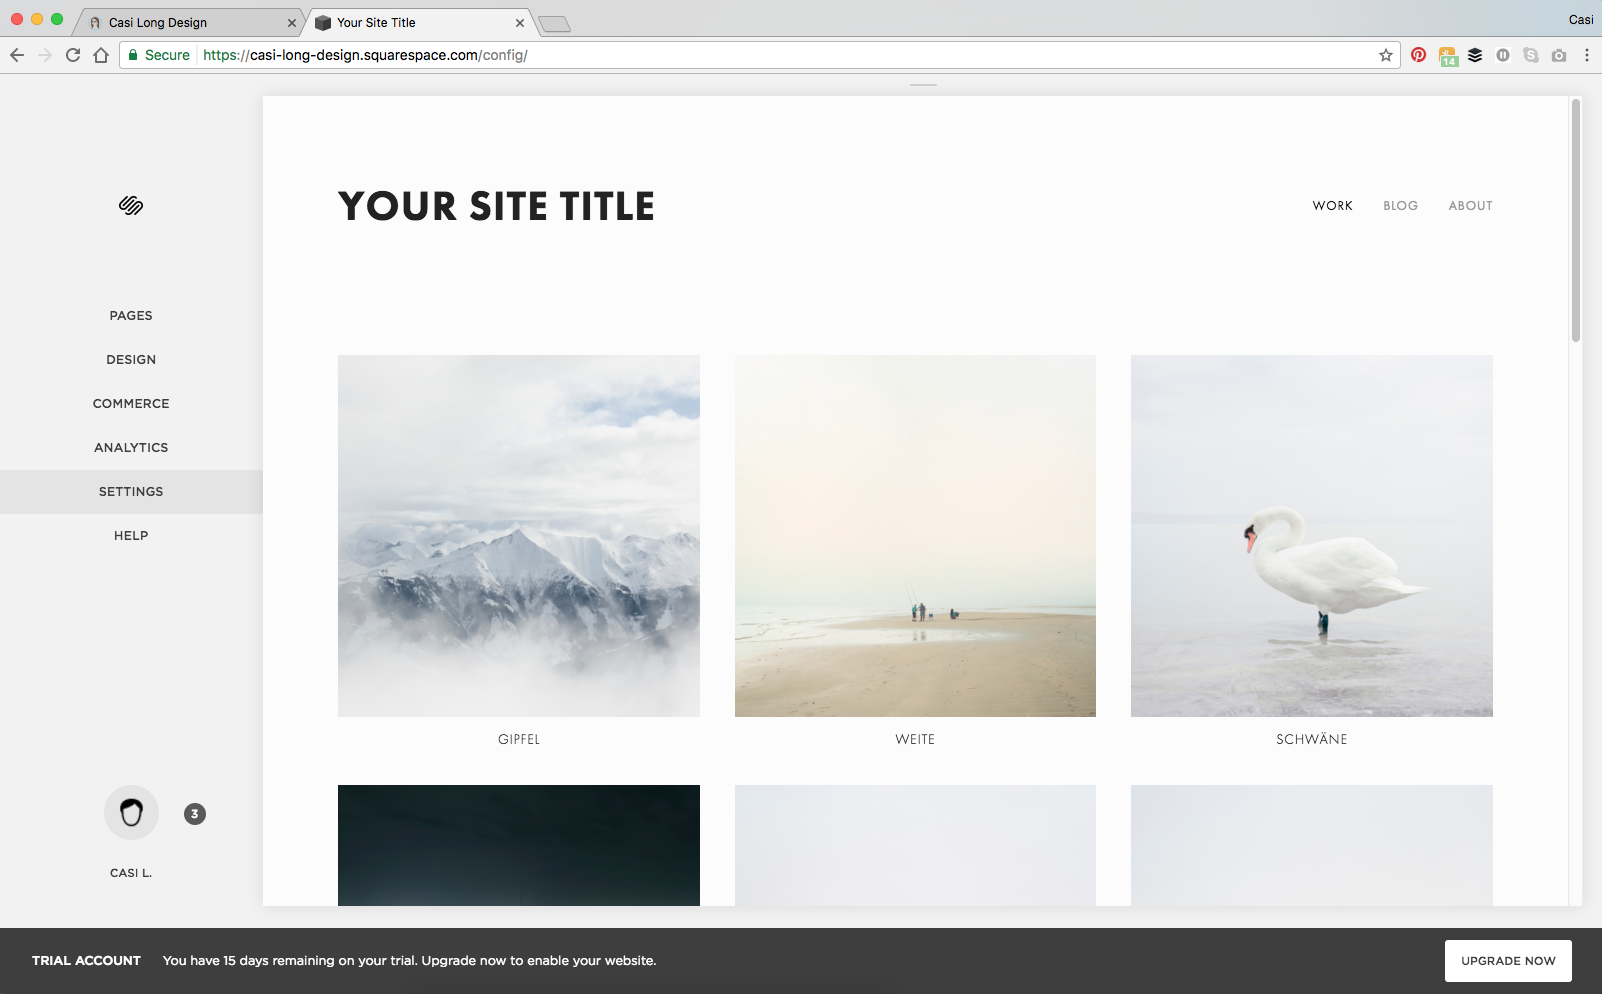
Step 5 | When your site is ready, upgrade your free trial to a paid plan
To upgrade, click the upgrade now button on the bottom of your screen.
You have two website options: Personal plan and Business plan. Just because you are starting a business site doesn’t mean you have to use the business plan.
The biggest differences in my opinion are…
20 pages with Personal plan vs. Unlimited pages with Business plan.
Business plan includes a professional email with google (ex. casi@casilong.com)
Business plan includes $100 Google AdWords Credit
Sidenote: You will receive a discount when you sign up for an annual plan compared to a monthly plan.

Here’s a guide on choosing the right payment plan for you.
Step 6 | Connect or customize your domain
You have 3 options when connecting/customizing your domain name.
Connect a custom domain you already own
Purchase a custom domain name through Squarespace or a third-party site
Customize your free Squarespace domain
Sidenote: If you don’t already own a custom domain, Squarespace includes a FREE domain for the first year with an ANNUAL plan.
From the main page click settings > under website click domains

You’ll see the options to Get a domain, use a domain you own, or customize your built-in domain.

Here’s a guide on how to connect a third-party domain.
To customize your built-in domain, simply click the built-in domain button, type in what you want your domain name to be, and click rename. (The built in domain will include .squarespace.com. Ex: www.casilong.squarespace.com)

There you have it! Now each time you need to edit your site, visit yourdomain.squarespace.com and you’ll know what to do!
If you have any questions about the specifics of these steps, feel free to ask!